
To stop making bubble foam when frothing milk, focus on correct technique and equipment prep. Keep the steam wand just below the milk surface to incorporate tiny bubbles, and use steady, gentle movements to prevent large bubbles. Control the temperature around 150°F and clean your tools regularly. Choosing the right milk type also helps. Mastering these steps creates smooth, velvety microfoam instead of bubbly foam—and if you follow these tips, you’ll discover how to perfect your milk frothing skills.
Key Takeaways
- Keep the milk at a cold, fresh temperature and use whole or non-dairy milk for better foam stability.
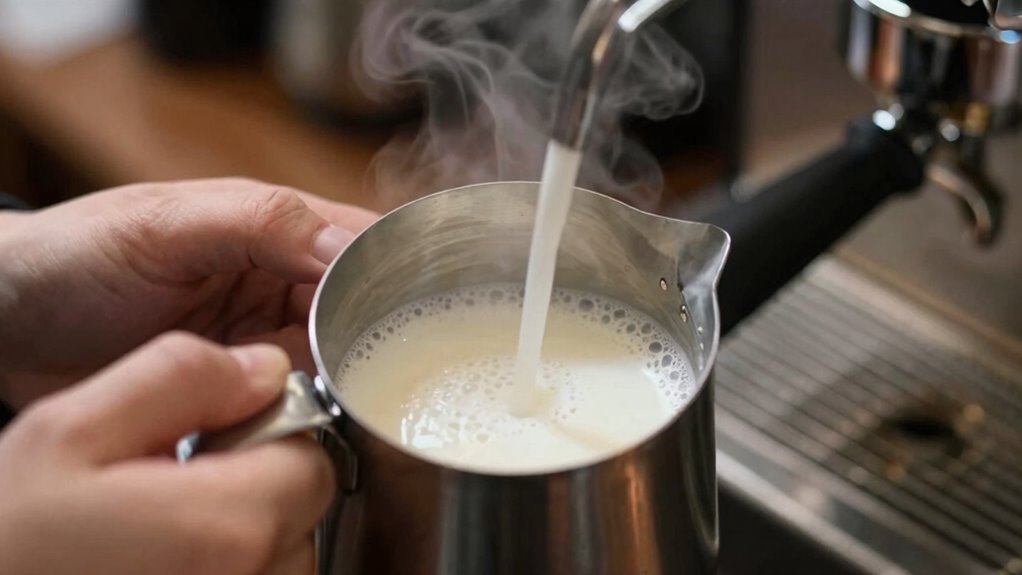
- Position the steam wand just below the milk surface and move it gently to create fine, uniform microfoam.
- Avoid overheating milk beyond 150°F (65°C); use a thermometer or feel the pitcher to maintain proper temperature.
- Clean the steam wand and frothing pitcher thoroughly before and after frothing to prevent residues that cause bubbles.
- Practice steady, gentle motion during frothing to prevent large bubbles and achieve smooth, bubble-free foam.
Why Bubbles Form When Frothing Milk
Have you ever wondered why bubbles appear when you froth milk? It all comes down to milk composition and frothing physics. Milk contains proteins, fats, and carbohydrates, which influence how bubbles form and stabilize. When you introduce air into the milk with a steam wand, the proteins work like a net, trapping tiny air pockets, creating foam. The fats help stabilize the bubbles, preventing them from bursting immediately. Frothing physics explains this process: as air mixes with warm milk, surface tension changes, allowing bubbles to grow and hold shape. Achieving smooth, velvety froth requires understanding this balance. If the milk’s composition isn’t right, or if the frothing process isn’t controlled, you’ll end up with larger, unstable bubbles instead of fine foam. Additionally, milk temperature plays a crucial role in how effectively bubbles form and stabilize during frothing. Properly controlling the temperature ensures the protein structure remains optimal for foam stability, leading to better results. Understanding the frothing process can help you avoid common issues like bubble foam, especially when considering factors such as milk freshness and milk quality. Being aware of these factors can greatly improve your milk frothing technique.
How to Prepare Milk and Equipment for Perfect Froth
Start by thoroughly cleaning your frothing pitcher and steam wand to prevent unwanted residues. Always use cold, fresh milk for the best froth and smooth texture. Preparing your equipment and milk properly guarantees you get the perfect foam every time. Incorporating AI-powered virtual assistants can help you maintain optimal steaming techniques and troubleshoot equipment issues for consistent results. Additionally, understanding milk chemistry can significantly improve your frothing success and texture quality. Knowing the sound therapy techniques associated with proper steaming can also help you develop a more rhythmic and consistent frothing motion. Moreover, paying attention to temperature control during steaming ensures you achieve the ideal microfoam for your beverages. Being aware of ventilation considerations can also enhance your overall steaming environment, reducing humidity and maintaining equipment efficiency.
Clean Equipment Thoroughly
Ensuring your equipment is thoroughly cleaned is essential for achieving the best froth. Proper sanitization procedures prevent bacteria buildup and guarantee your milk tastes fresh. Regular equipment maintenance keeps your tools in top condition, allowing for consistent results. Always wash your steam wand, pitcher, and frothing tools with warm, soapy water after each use. Use a brush to remove any milk residue that may cling to surfaces. Rinse thoroughly and dry completely to prevent mold or bacterial growth. Remember, dirty equipment can introduce unwanted flavors or cause frothing issues, like bubbles or unsteady foam. Keeping your setup clean not only promotes hygiene but also assures your milk froths smoothly and consistently, giving you that perfect, velvety texture every time. Proper Clean equipment is a crucial step in preventing common problems like bubbles or uneven foam. Regular equipment maintenance can also help ensure your environment remains free of dust and contaminants that could affect your milk frothing process. Additionally, maintaining a hygienic environment minimizes the risk of contamination and improves overall frothing quality. Incorporating a routine inspection of your tools helps identify potential issues early, ensuring your equipment remains in optimal condition for consistent results. Using proper cleaning tools can further enhance your maintenance routine and prevent buildup that affects frothing.
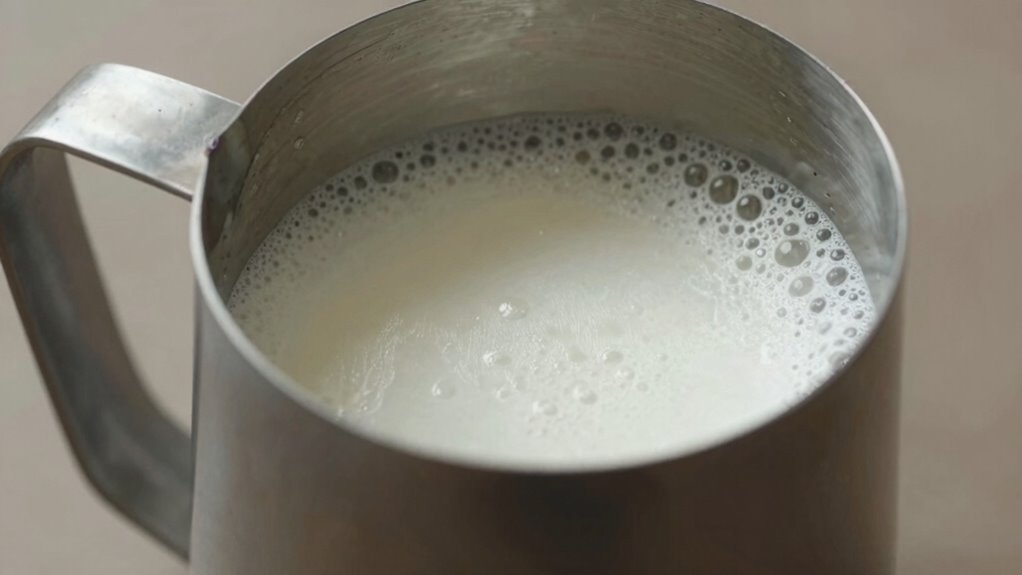
Use Cold Fresh Milk
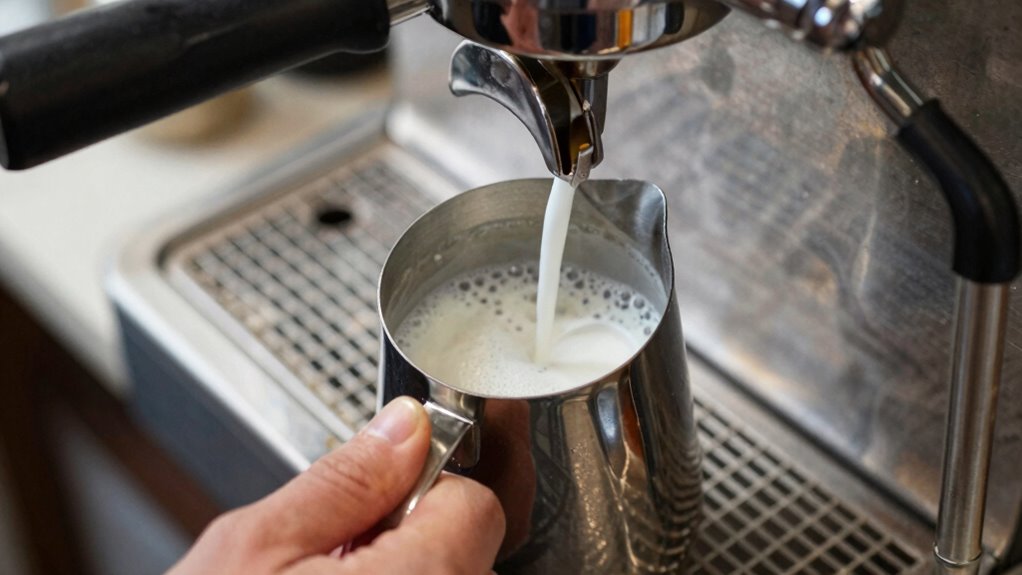
Using cold, fresh milk is key to achieving the perfect froth. When your milk is at the right milk temperature, it froths more easily and creates a smoother, creamier foam. Start with fresh milk straight from the fridge to guarantee ideal frothing techniques. Visualize the milk as it hits the steam wand, bubbling gently without splattering. Imagine these steps:
- Milk forming tiny, uniform bubbles
- Consistent temperature control for best results
- Steam wand immersed just below the surface
- Steady, gentle swirling to avoid large bubbles
- Froth expanding smoothly without sudden splashes
Keeping the milk cold helps prevent over-heating and prevents bubble foam. The right milk temperature and fresh milk are essential to mastering frothing techniques, leading to a silky, professional-looking froth every time.
Frothing Milk: Tips to Avoid Bubbles and Achieve Creaminess

To avoid bubbles and achieve smooth, creamy froth, it’s essential to pay attention to your milk’s temperature and texture. During milk frothing, keep the milk just below boiling point—around 150°F (65°C)—to promote ideal foam without over-aeration. Use a steady, gentle motion to incorporate air, which helps prevent large bubbles that can ruin the texture. Consistently move the steam wand or milk frother to evenly heat and aerate the milk, ensuring bubble prevention and a uniform, velvety finish. Avoid rapid or aggressive movements, as they create turbulence and larger bubbles. Paying attention to art care practices can also help you better understand how to handle and maintain your frothing equipment for optimal results. Additionally, understanding airflow management can assist in controlling the size and stability of the foam, leading to a more professional finish. Regularly calibrating your equipment ensures consistent performance, which is crucial for achieving perfect froth. Practicing equipment calibration regularly can ensure your tools perform consistently and accurately, further enhancing your frothing success. Focus on maintaining a steady hand and a consistent temperature to produce milk frothing that’s smooth, rich, and free of unwanted bubbles. Proper equipment maintenance can further enhance your frothing success by ensuring your tools perform consistently and efficiently.
Common Mistakes in Milk Frothing and How to Fix Them
Many beginners make mistakes like overheating or underheating the milk, which affects frothing quality. Poor technique or using the wrong type of milk can also lead to less-than-ideal foam. Knowing how to fix these issues will help you create perfect milk every time. Additionally, using a vetted esthetician magnifying lamp can improve your ability to observe and adjust the frothing process for better results. Understanding the milk frothing process can further enhance your technique and prevent common errors. Gaining knowledge of proper temperature control is essential for achieving consistent foam.
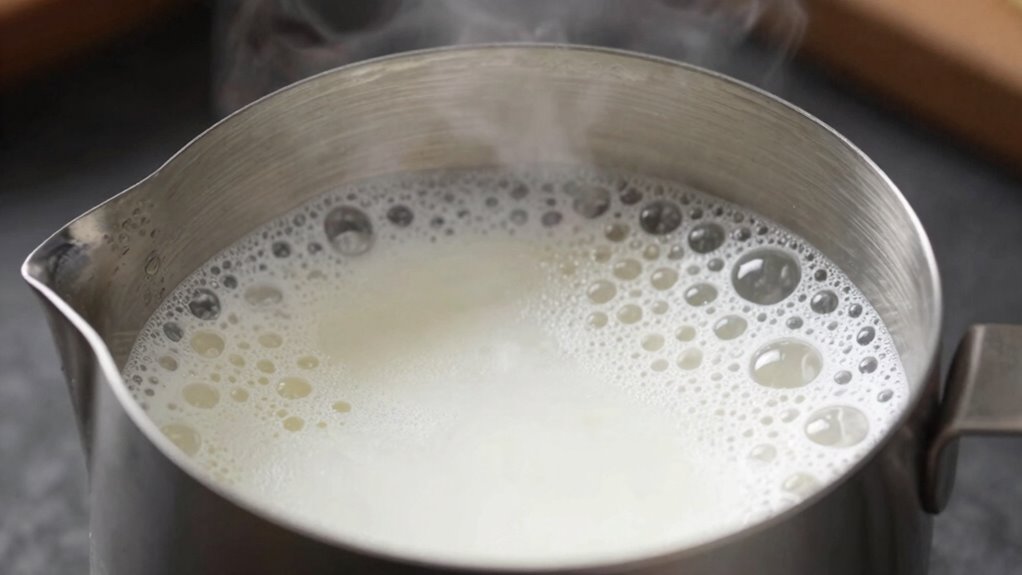
Incorrect Milk Temperature
Have you ever steamed milk only to find it too hot or too cold? Incorrect milk temperature can ruin your frothing. When the milk is too hot, it scorches, killing its sweetness, and creates a thin, bubbly foam. Too cold, and the milk won’t froth properly, leading to a flat or lackluster texture. To fix this, monitor the milk temperature carefully: aim for around 150°F (65°C). Keep an eye on the milk in your pitcher:
- Watch for steam rising and the pitcher warming in your hand
- Feel the pitcher’s temperature without touching the milk directly
- Keep a thermometer nearby for precise readings
- Adjust your frothing speed based on temperature—slower when heating, faster for frothing
- Stop steaming once the milk reaches the right temperature to avoid overheating or underheating
- Using a reliable thermometer helps maintain consistent milk temperature for perfect froth every time.
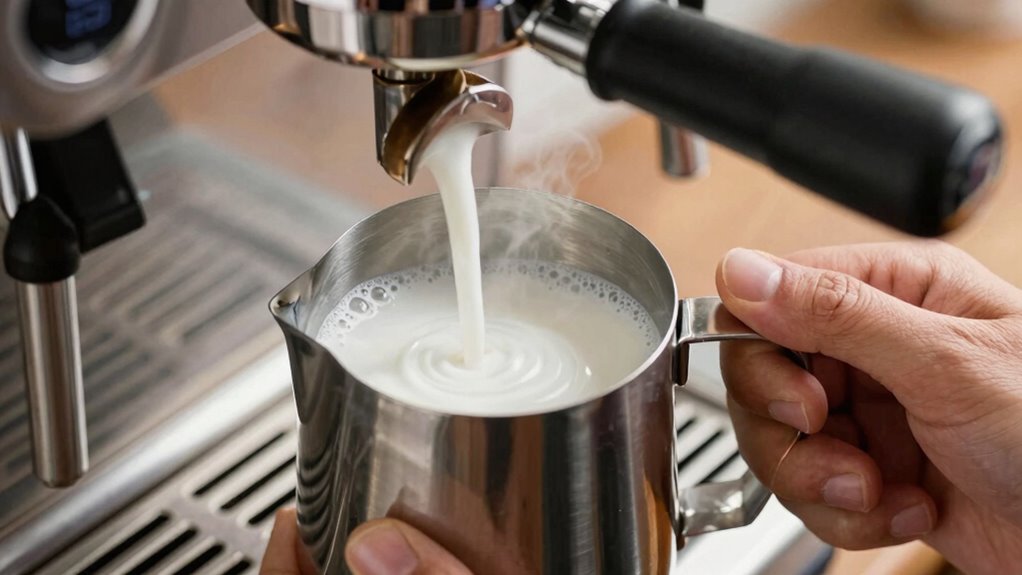
Poor Frothing Technique
Getting the milk temperature right is just one part of successful frothing; your technique plays a significant role in achieving that creamy, velvety foam. Poor frothing technique often leads to large bubbles or thin, unstable foam. To improve, focus on positioning the steam wand just below the milk surface and creating a gentle, consistent motion—don’t splash or whirl too aggressively. Proper technique ensures even heat distribution and smooth microfoam. If your frothing results are inconsistent, consider trying alternative frothing tools like manual frothers or handheld devices. These can help you develop better control and consistency. Also, think about how your milk foam pairs with tea; a well-frothed milk complements tea flavors without overpowering them, creating a balanced, enjoyable beverage.
Using Wrong Milk Type
Using the wrong type of milk is a common mistake that can hinder your frothing results. Different milk types produce varying frothed textures, affecting your drink’s quality. For example, whole milk creates a creamy, smooth foam, while skim milk yields a lighter, airy froth. Non-dairy alternatives like almond or soy milk often struggle to develop stable bubbles. When choosing milk, consider its fat and protein content, as these influence the frothed texture.
Imagine:
- Thick, velvety foam from whole milk
- Light, airy bubbles from skim milk
- Thin, unstable foam from almond milk
- Dense, creamy froth from oat milk
- Poorly textured foam from soy milk
Selecting the right milk type guarantees better frothing and a satisfying coffee experience.
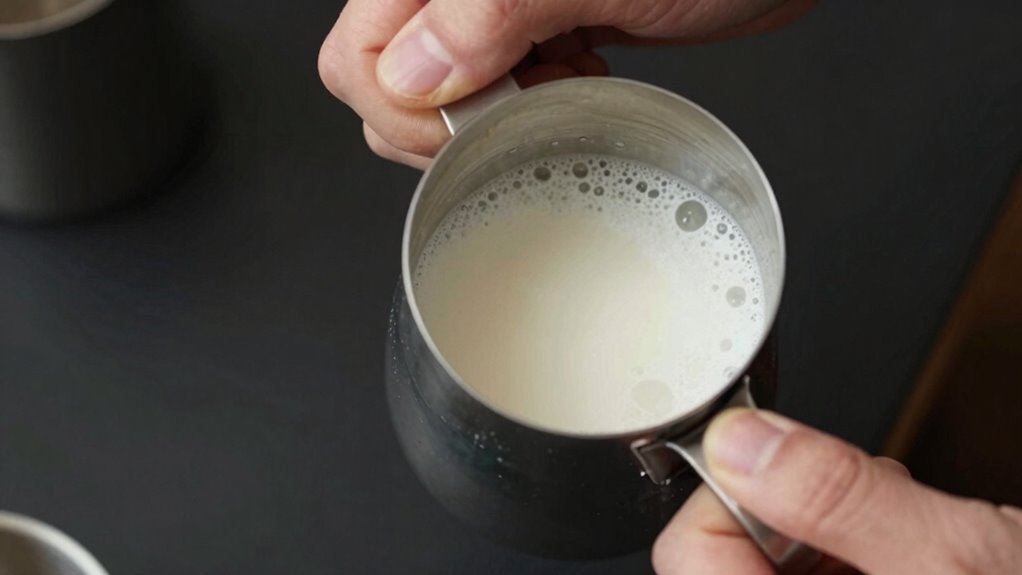
Troubleshooting Persistent Bubbles in Your Milk Froth
Persistent bubbles in your milk froth can be frustrating, but understanding their cause is the first step to fixing the issue. If you’re using milk alternatives, they often foam differently and may produce more bubbles due to their composition. Confirm you’re selecting the right type for frothing. Using the wrong frothing tools can also contribute to persistent bubbles; for example, a wand that’s too powerful can create excessive foam. Keep your frothing equipment clean and free of residual milk, which can trap air and cause unwanted bubbles. Additionally, avoid overfilling your pitcher, which restricts proper movement of milk and air. Adjusting your technique and choosing the appropriate milk alternatives and tools will help you achieve smoother, creamier froth without persistent bubbles.
How to Maintain Perfect Milk Foam in Your Coffee Routine
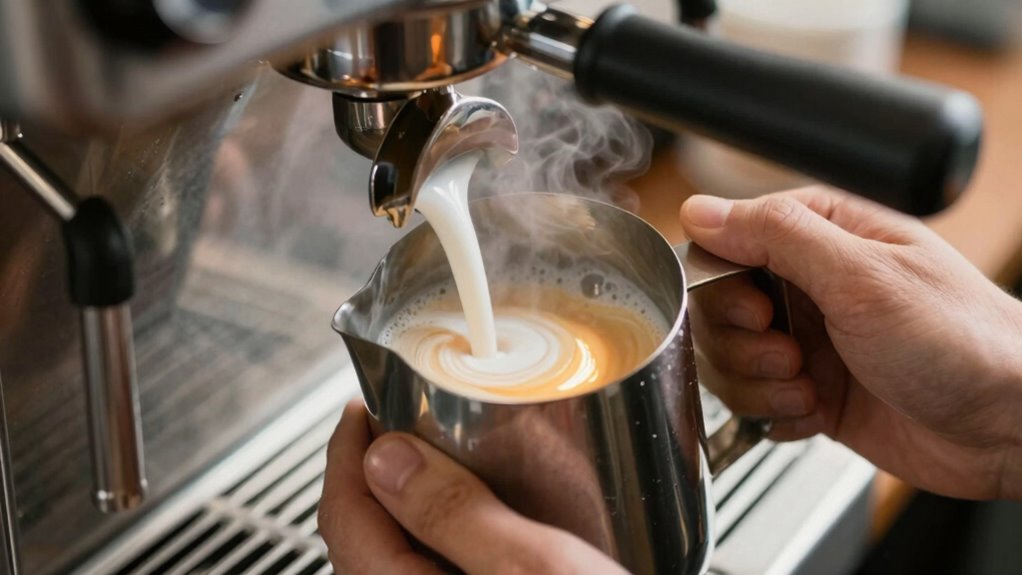
Maintaining perfect milk foam requires a combination of proper steaming technique and consistent care. To preserve ideal milk texture for smooth, glossy foam, focus on gentle steaming, keeping the steam wand just below the surface, and controlling temperature. Regularly clean your equipment to prevent milk residue, which can affect foam quality. For impressive latte art, the foam should be velvety and free of large bubbles. Visualize this with:
Achieve velvety, glossy milk foam with gentle steaming and regular cleanings for perfect latte art.
- A shiny, satin-like milk surface
- Tiny, uniform bubbles throughout
- A glossy, elastic texture
- Steady steam pressure for consistent foam
- A warm but not overheated pitcher
Next Steps: Improving Your Milk Frothing Skills
Once you’ve mastered creating smooth, glossy milk foam, the next step is sharpening your skills to produce even better results. Practice pouring your milk with controlled speed and angle to create intricate milk art designs, like rosettas or hearts. Focus on maintaining consistent steam pressure and temperature, which helps achieve the perfect microfoam texture. Experiment with different types of milk to discover how each enhances flavor and foaming behavior. As your confidence grows, try incorporating latte art techniques to elevate your presentation. Improving your milk frothing skills not only enhances the visual appeal but also boosts flavor enhancement, making every sip more enjoyable. Consistent practice and attention to detail will help you refine your craft and impress with your coffee creations.
Frequently Asked Questions
Can I Use Non-Dairy Milk for Better Frothing Results?
Yes, you can use plant-based milks for better frothing results. Many non-dairy options like oat, almond, and soy milk tend to produce a creamier froth with a smoother frothing consistency. Just keep in mind that some plant-based milks may require different frothing techniques or temperature settings. Experimenting with different brands and types helps you find the best non-dairy milk that creates the desired froth without bubble foam.
What’s the Ideal Temperature for Steaming Milk?
Perfectly plush, warm, and wondrous—your milk temperature should hit around 150°F to 155°F. Use a steady steaming technique, submerging the wand just below the surface to create silky, smooth froth without scorching. Keep your hand on the pitcher to monitor warmth, ensuring the milk reaches ideal heat without overheating. This precise temperature and technique produce luscious, luscious foam, perfect for lattes or cappuccinos.
How Do Altitude and Humidity Affect Milk Frothing?
Altitude effects can make milk frothing tricky because lower air pressure causes your milk to heat unevenly or form larger bubbles. Humidity influence also plays a role; high humidity can make it harder to achieve stable foam, while dry air helps create finer bubbles. You might need to adjust your frothing technique, like slightly lowering the steam pressure or frothing time, to compensate for these environmental factors and get smooth, velvety foam.
Is There a Difference Between Frothing With a Steam Wand and a Handheld Frother?
Like a maestro choosing between a baton and a brush, you’ll notice a difference when frothing with a steam wand versus a handheld frother. The steam wand uses steam pressure to create rich, velvety foam, perfect for lattes. The handheld frother, on the other hand, relies on rapid spinning to produce lighter foam, ideal for quick, everyday drinks. Both work well, but your choice depends on your texture preference and skill level.
How Long Should I Steam Milk to Achieve Perfect Foam?
You should steam milk for about 20 to 30 seconds to achieve the perfect foam, aiming for a velvety milk texture and dense foam density. Keep the steam wand just below the surface to introduce air gradually, creating smooth microfoam. Monitor the milk’s temperature, ideally reaching 150°F (65°C). When the milk feels warm and the foam is shiny and tight, you’ve steamed enough for a perfect pour.
Conclusion
Now that you know how to prevent bubbles and create smooth, creamy milk froth, aren’t you excited to elevate your coffee game? With just a few tweaks and patience, you can master that perfect velvety foam every time. Imagine the rich aroma and inviting texture waiting in your cup—aren’t those moments worth perfecting? Keep practicing, stay attentive, and soon, frothing milk will become second nature. Your perfect coffee experience is just a froth away.