To improve your video quickly, start using manual mode on your camera. This gives you control over settings like exposure, focus, and white balance, helping you craft a more professional look without relying on auto modes. Adjust your ISO, aperture, and shutter speed based on your lighting environment for clearer, better-lit footage. Practice these controls to build your confidence and speed. Keep exploring, and you’ll discover even more ways to enhance your videos effectively.
Key Takeaways
- Switch to manual mode to gain full control over exposure, focus, and white balance.
- Adjust ISO, shutter speed, and aperture to match lighting conditions quickly.
- Use a wider aperture to brighten footage and improve depth of field.
- Incorporate external microphones for immediate audio quality enhancement.
- Practice navigating manual controls regularly to build confidence and speed in adjustments.
If you’re new to videography, understanding basic camera settings can dramatically improve your footage. One of the most effective adjustments you can make right away is setting your camera to manual mode. This gives you control over exposure, focus, and white balance, helping you craft a more professional look. A key aspect of this is mastering lighting techniques. Proper lighting ensures your subject is well-lit, shadows are controlled, and the scene looks natural. Instead of relying on auto settings, experiment with adjusting ISO, shutter speed, and aperture to match your environment. For example, lowering ISO in bright conditions prevents graininess, while increasing it in low light helps brighten your shot without sacrificing image clarity. Using a wider aperture allows more light in, making your footage brighter and more visually appealing.
Alongside lighting, paying attention to audio improvement makes a huge difference. Clear, crisp sound can elevate your videos from amateur to polished. Even the best visuals fall flat if the audio is muffled or filled with background noise. Invest in an external microphone, which typically offers better sound quality than your camera’s built-in mic. Position the microphone close to your subject to capture clean audio, and consider using windshields outdoors to block wind noise. When recording, check your audio levels regularly and aim for a balance where the sound isn’t peaking or too quiet. This attention to audio detail ensures viewers stay engaged without distraction. Additionally, familiarizing yourself with your camera’s manual controls can give you more confidence in quickly adjusting settings on the fly.
Ultimately, the simplest way to make fast improvements is to familiarize yourself with your camera’s manual controls and practice adjusting lighting techniques and audio setup. These foundational skills ensure your videos look and sound better immediately. Developing an understanding of camera settings can help you troubleshoot issues and adapt to different shooting environments more efficiently. For example, understanding the importance of contrast ratio can help you optimize your footage for different lighting conditions, ensuring images have the right depth and clarity. With consistent practice, you’ll develop an intuitive sense for suitable settings, making your videos more engaging and polished. The more you experiment and learn, the more confident you’ll become in capturing high-quality footage that stands out.
external microphone for DSLR camera
As an affiliate, we earn on qualifying purchases.
As an affiliate, we earn on qualifying purchases.
Frequently Asked Questions
Can I Change Camera Settings While Recording Video?
Yes, you can change camera settings while recording video, but it’s tricky and can affect camera ergonomics and audio synchronization. When you adjust settings like exposure or focus mid-shot, it may cause noticeable shifts or noise. To minimize disruptions, plan your settings beforehand or use camera models that allow smooth, real-time adjustments. Always monitor audio synchronization closely, especially when making changes during recording.
What’s the Best Setting for Low-Light Video Conditions?
For low-light video conditions, set your camera to a higher ISO and open the aperture wider. Use lighting techniques like adding soft diffused lights or reflectors to brighten the scene. Adjust your camera sensor settings to maximize light intake without overexposing. Keep your ISO balanced to avoid grainy footage, and make certain your lens aperture is wide open. These steps help you capture clearer, brighter videos even in challenging lighting environments.
How Do Frame Rate and Shutter Speed Affect Video Quality?
Imagine your video coming alive, each frame perfectly sharp, colors stunningly vibrant. That’s what proper frame rate and shutter speed do—they balance motion and clarity, preventing your footage from looking choppy or blurry. When you get these settings right, it makes color grading smoother and ensures audio stays perfectly synchronized, creating a seamless, professional-looking video. Adjusting these settings transforms your raw footage into a mesmerizing visual story.
Should I Use Autofocus or Manual Focus for Videos?
You should use autofocus for videos if you want quick, reliable focus, especially with moving subjects. Focus techniques like continuous autofocus help keep your subject sharp without manual adjustments. Autofocus advantages include saving time and reducing focus errors during recording. However, if you need precise control or are shooting static scenes, manual focus gives you better accuracy. Choose based on your scene’s motion and your comfort with focus techniques.
How Do I Stabilize My Camera During Handheld Shooting?
Think of your camera as a delicate bird on a wire — you want steady wings. Use a tripod for absolute stability and practice gimbal techniques to mimic smooth, flowing movements. Keep your elbows close to your body, like roots anchoring a tree, and avoid sudden moves. With these methods, your handheld shots become steady, natural, and professional, capturing motion like a gentle breeze rather than a storm.
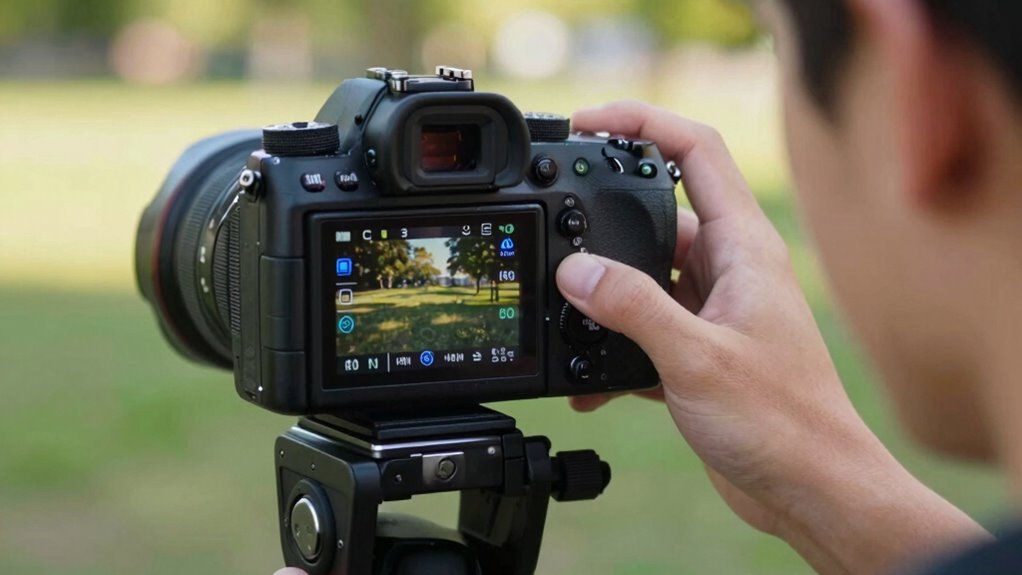
manual mode camera for beginners
As an affiliate, we earn on qualifying purchases.
As an affiliate, we earn on qualifying purchases.
Conclusion
Now that you’ve adjusted your camera settings, you’re like a painter with a fresh palette, ready to bring your stories to life. Each shot becomes a brushstroke, capturing the essence of your vision. Remember, these settings are your tools, but your passion is the true masterpiece. Keep experimenting, and let your creativity flow freely. With every video you craft, you’re weaving a tapestry of moments that will resonate long after the final frame.
camera lens with wide aperture
As an affiliate, we earn on qualifying purchases.
As an affiliate, we earn on qualifying purchases.
video lighting kit for shooting
As an affiliate, we earn on qualifying purchases.
As an affiliate, we earn on qualifying purchases.